Events
Documentation | Events
Imagine your membership system could manage unlimited free or paid events and not charge commission! Imagine no more.... Your Mition portal does just that!
Designed to help organisations manage all their event needs in one easy-to-use system.
Create public or private events and provide various ticketing options and categories.
Event List
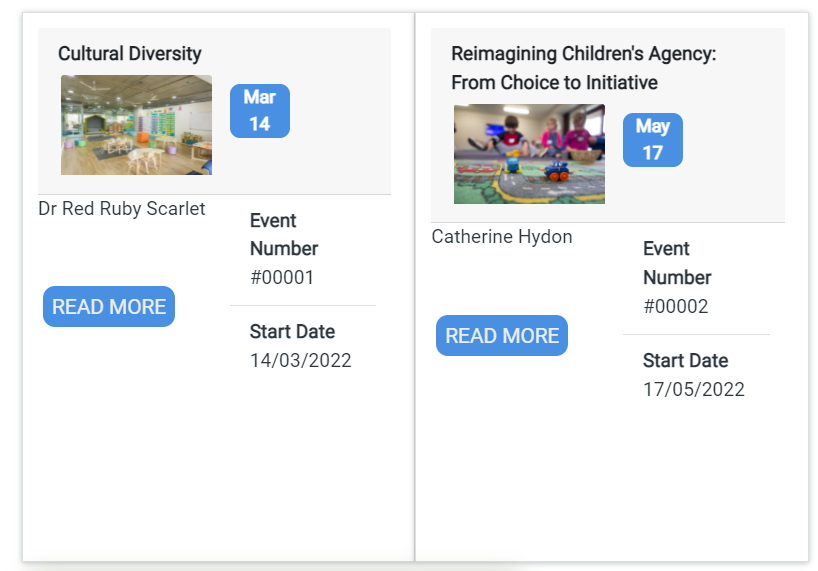
The Event List is a web component that can be put on a webpage, tags may be used to match events (intersection) and can be displayed.
For example, if the event has tags Social, Webinar and the Event List control has Webinar, eLearning then the event would display as they intersect at Webinar.
Only events that are older than 14 days are displayed, they automatically archive themselves from your website.
The control size is recommended to be 12, it will automatically adjust the size for mobile.
Optionally select a specific event category to display, when displaying events on a webpage, you can create dedicated pages around the event and then list the related events on the same page.
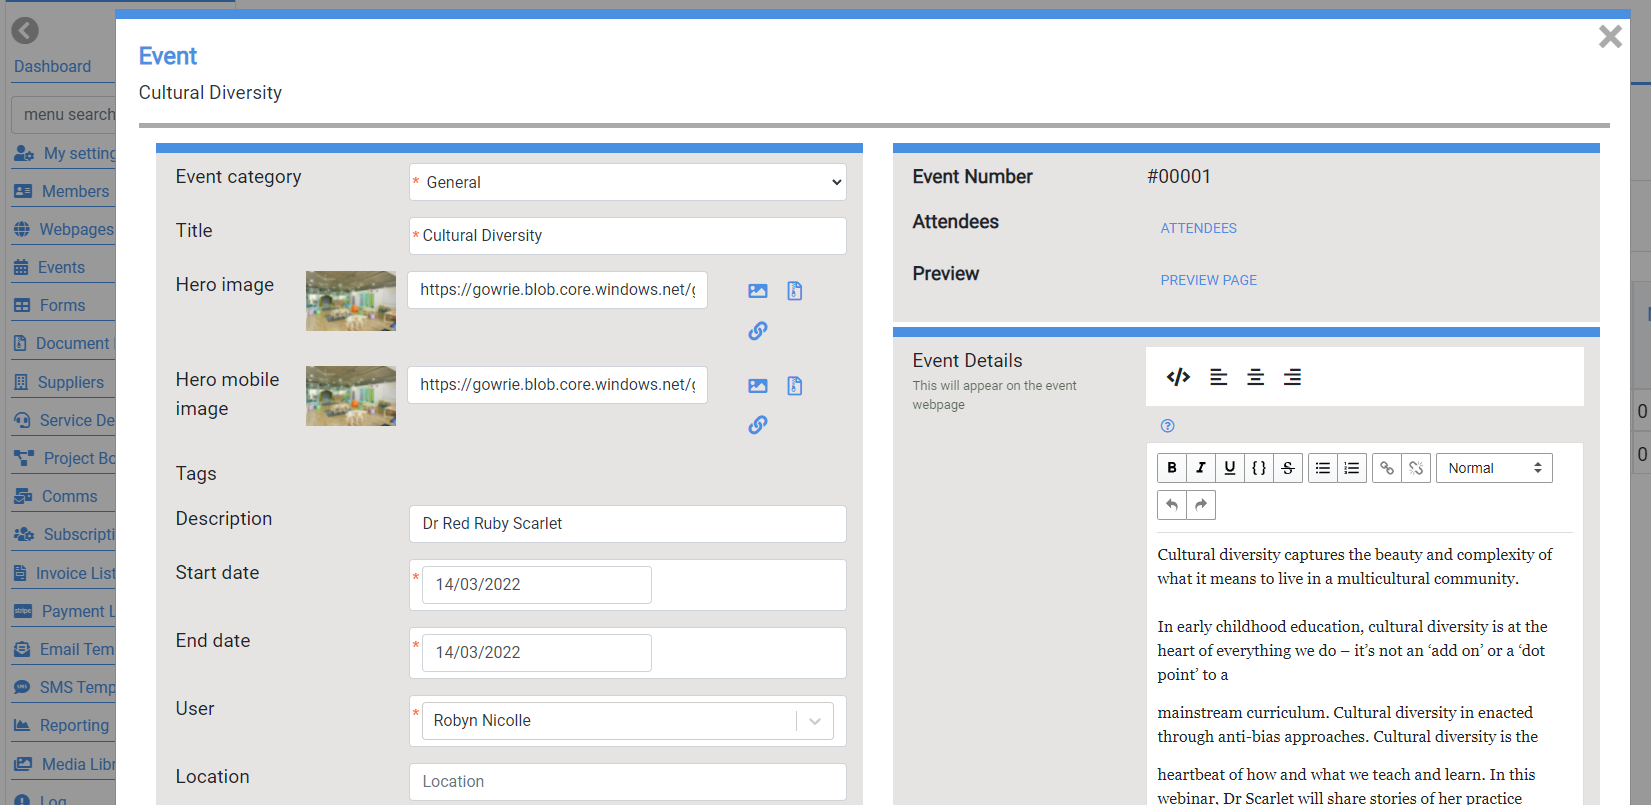
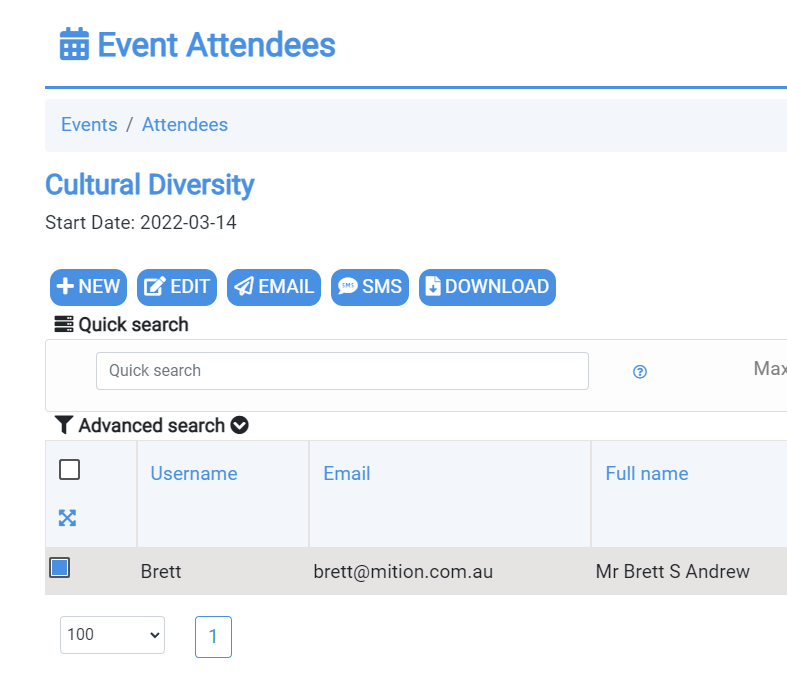
Review a list of attendees for an event or a particular date and time of an event. Edit the event and select the "attendees" button. The Event Attendees screen will show you a list of all registered members who have subscribed and how many tickets they are allocated (some events allow users to purchase multiple ticket types).
The event attendee page has the ability to email / txt and add/remove attendees, manually send attendees reminders of the event, or any other news about the event.
This useful function lets users know more details about an event, where it is being hosted or how to join if you do not want to make this information public.
In order to simplify event payments we introduced Ticket Categories and Ticket Subcategories.
Manage these under Admin Settings > Events
Setup event pricing based on Ticket Categories and Ticket Subcategories, then within the Event editor select the Ticket Category. As the majority of pricing will be the same, it was much more efficient to keep ticket pricing separate rather than having to add it for each individual event.
Event Pricing
Setup requirments:
- minimum and maximum ticket quantities;
- public & member ticket pricing;
- invoicing / payments;
- multiple ticket management (e.g. 1 person purchases 10 tickets and can allocate a ticket to their own guests).
Add the amount and the GST amount for each ticket type. Note GST is currently not calculated automatically, ensure you add the GST amount manually.
When a user subscribes to an event or purchases a ticket, their ticket appears in their settings > events page, on the day of the event a link to the event is on the dashboard so it is the first thing they see.
Users can add events to their calendar, print and also allocate guest tickets.
When a user purchases more than 1 ticket, e.g. 10 tickets they can allocate each of these tickets to different guests, the minimal information for a guest is firstname. If a user purchases multiple tickets such as 1 x member ticket and 5 x guest tickets and 2 x gold member tickets they will see ALL of these tickets in their ticket for this event, making it easy to manage ALL of their tickets in one place.
Each guest is given a unique QR code that can be used for checking in at events.
Linking Guest Allocated tickets to Real Users
The ticket purchaser can allocate tickets to other users, the guests will not be automatically registered to the system, however if a matching email address is found the ticket is linked to a user and they will be able to see that ticket in their My Settings > Events section as well as complete any mandatory fields (e.g. dietary requirements) and whether they will be attending.
The email address has to match exactly, the way to tell it has been linked is when linked the guest firstname and lastname is not editable. To unallocate that ticket, check "deleted" and save and you can allocate it to another user.
Transferable Tickets
If you would like users with a single ticket to be able to transfer this ticket to another user, you must check is Transferable in the Event Category to enable it.
Auto reminders are a great way to remind people they have an event coming up! Use the email template feature for auto reminders to send an email to all users who are subscribed to events.
Setup multiple reminders such as a week prior to the event and the day prior for all events for your organisation.
In the Event Advanced Settings, create custom fields which request information for each attendee (for each ticket including a ticket purchases guests). Often used for requesting information such as dietary requirements or preferences, if they will be attending a lunch or dinner that is included in the ticket.
To create a set of Custom Fields, go to Admin Settings > Events Custom fields. Create a set such as "Conference" or "Team Meeting" re-use these custom fields later for other events.
Field types include textbox, text area, dropdown, dropdown multi, number, date, accept terms.
Staff can see these fields and values in the Attendee reports.
The event module is very flexible, here are some ways Mition user clients use it.
Single event
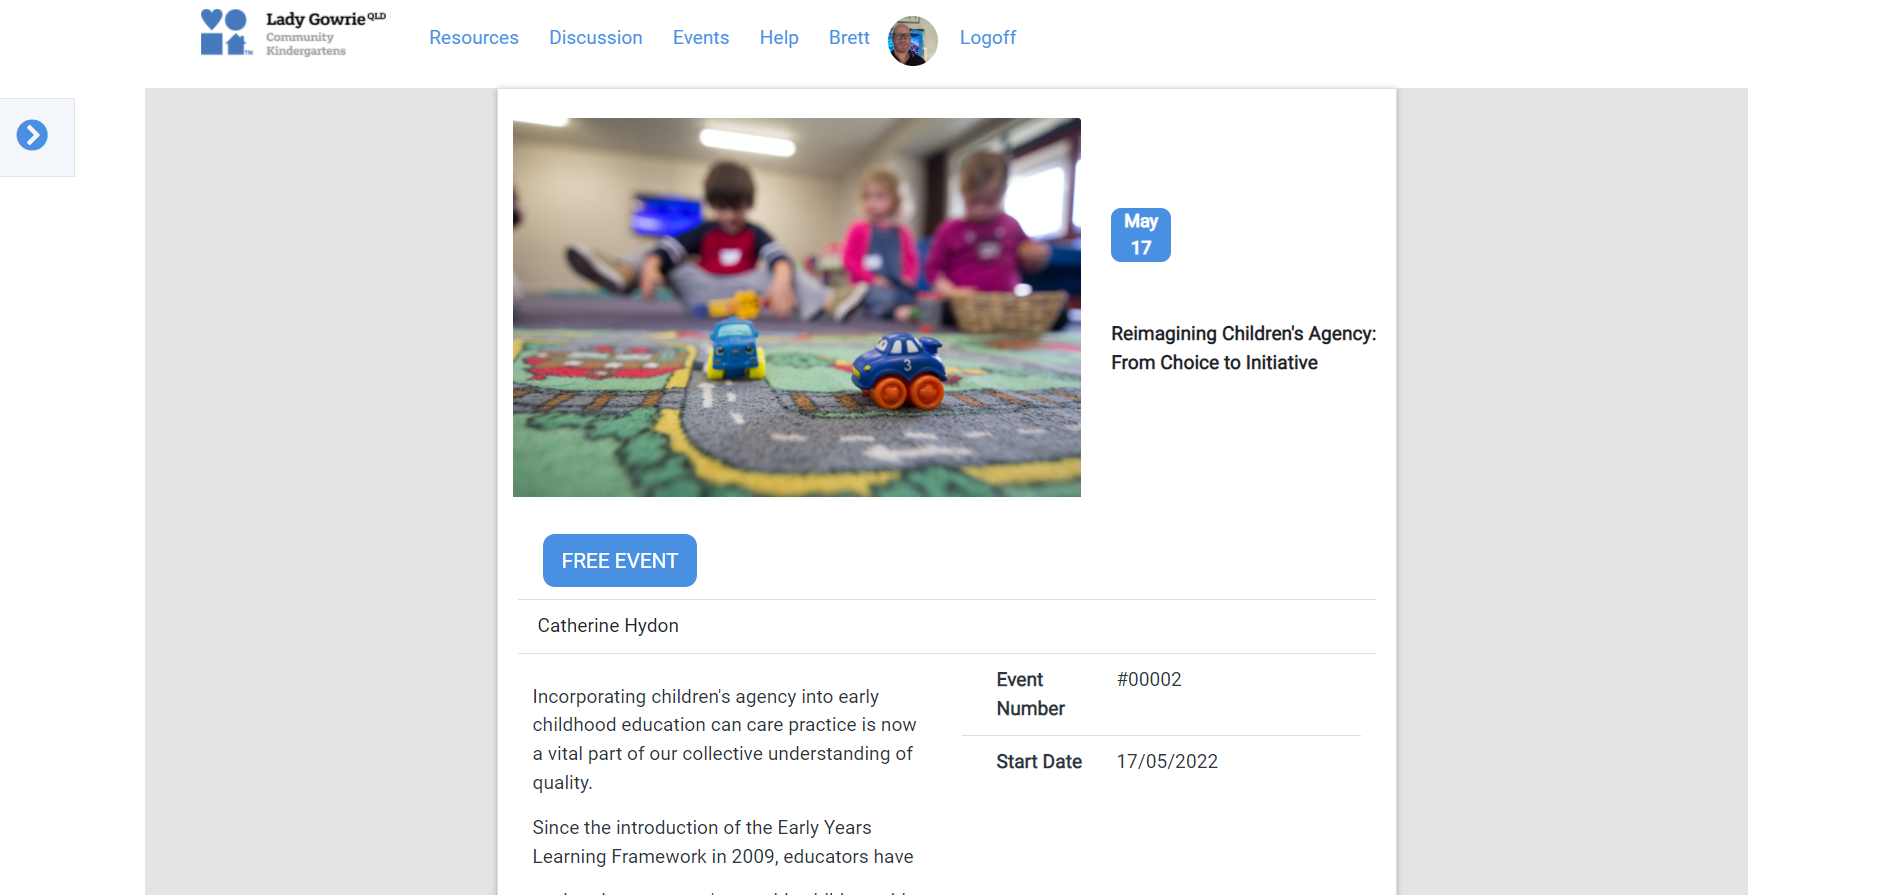
A simple event, paid or free, users find and subscribe and pay if required.
Events with multiple days
Setting up an event for a global band tour and they are playing for 3 nights, add a single event, then add multiple show times (add multiple dates and times to an event). If you do not check the checkbox that says these are "free with parent", then each of the dates/times you add becomes a separate payable event i.e. Users are not automatically enrolled in ALL of the dates and times only the date they select (a drop down of different event dates shows up) and it also shows when all tickets are sold out.
Courses
Use the event module to manage in person or online courses, simply create the first event, put in details about the course and then create all the course dates and times (add multiple dates and times to an event) and flag these as "free with parent", this means that when someone joins the course, even if halfway through, they are added to the entire course and ALL the dates and times.
As you add a new Date/Time, all the users enrolled in the course will be added also.
Hybrid
Have a Course that needs a combination of these? Setup a sample course and a paid course. It's easy to copy a course and have different settings for each part of the course, also modify all the details of a specific date and time, by default it inherits all of the fields from the master (parent) event record to save you from having to enter the details, all of this can be overwritten.
'Child' courses cannot have additional child courses at this stage, it's a 2 level maximum, this also limits how to manage paid tickets, however you can provide free tickets to members if they have subscribed another way (i.e.. through a membership subscription).
Discount codes
The system allows you to create pricing that is only available if you know the discount code, create a discount code such as SPECIALOFFER or ONEFORFREE and allow users to use this, set these to only be accessible to members and only allow the discount code to be used once per person (max per person=1).
Tags
Have different tagged categories, your events might use tags such as Days of the Week, or Region. When displaying event lists, these tag filters will automatically appear.
Events can also be displayed filtered to group, say for example a event had 100 different dates and times, it would appear 100 times, by only showing the parent record this will only show once.
Event Contacts
For each event, add event organisers, contacts / speakers. If that user has a Preferred Contact Method setup, a link to that will be added on the Event Page (we recommend using Preferred Contact Method of "System" which will keep the persons email address or phone number private). This will only show for certain website security levels (e.g. Level 2 and 3) - Level 1 will require users to login to see these contacts.
Branch Management
See Branch Event Management for new features on how you can let a region, chapter or branch manage their own events!


